
How to use check-ins?
Check-ins are a menu that can be used as a community and an event.
Therefore, check-ins can be used in the service management menu, not the bulletin board.
Engage app members with a variety of check-in events.
Please check the manual to see how to use Check-ins, such as how to enter the post in the attendance checklist function and participate in the event.
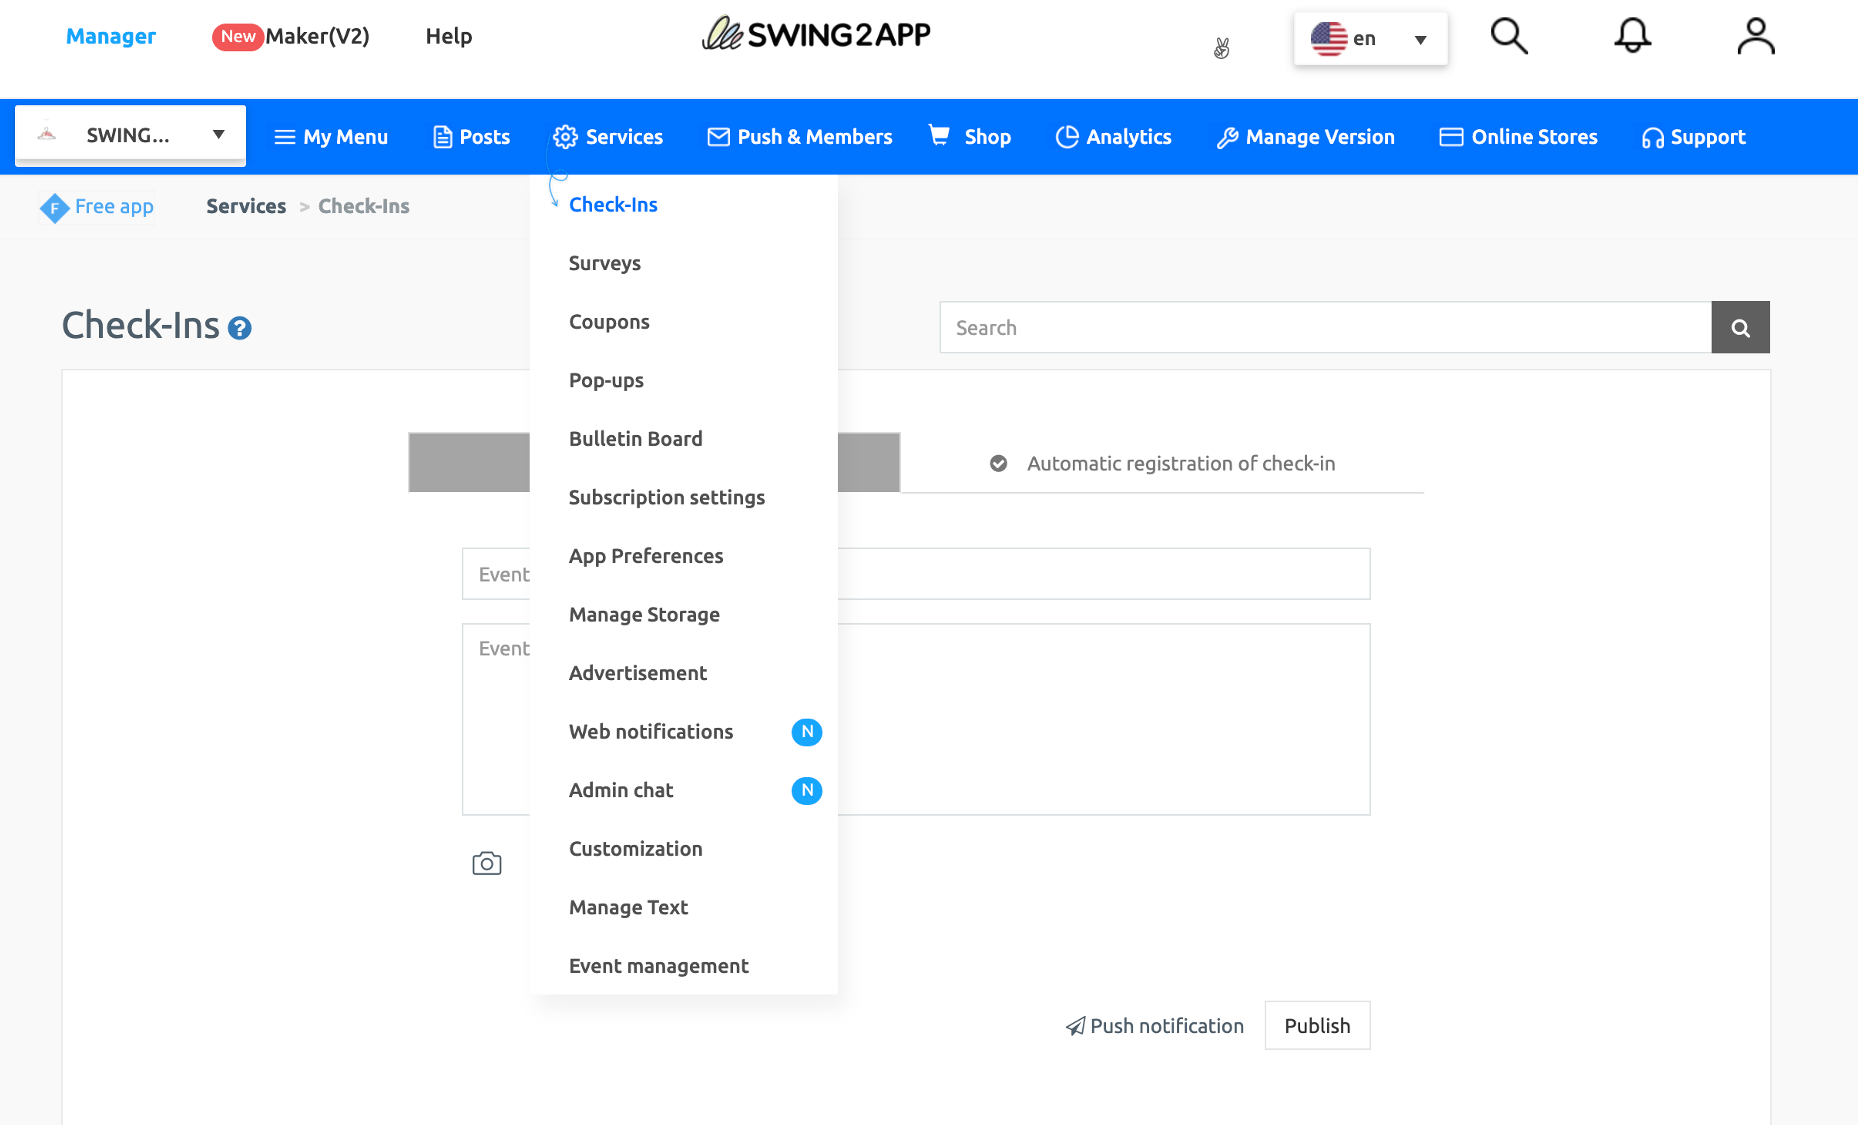
STEP.1 Registration of Check-ins
- Click on the Manager.
- Select Services.
- Select Check-ins.
1. Register Check-in
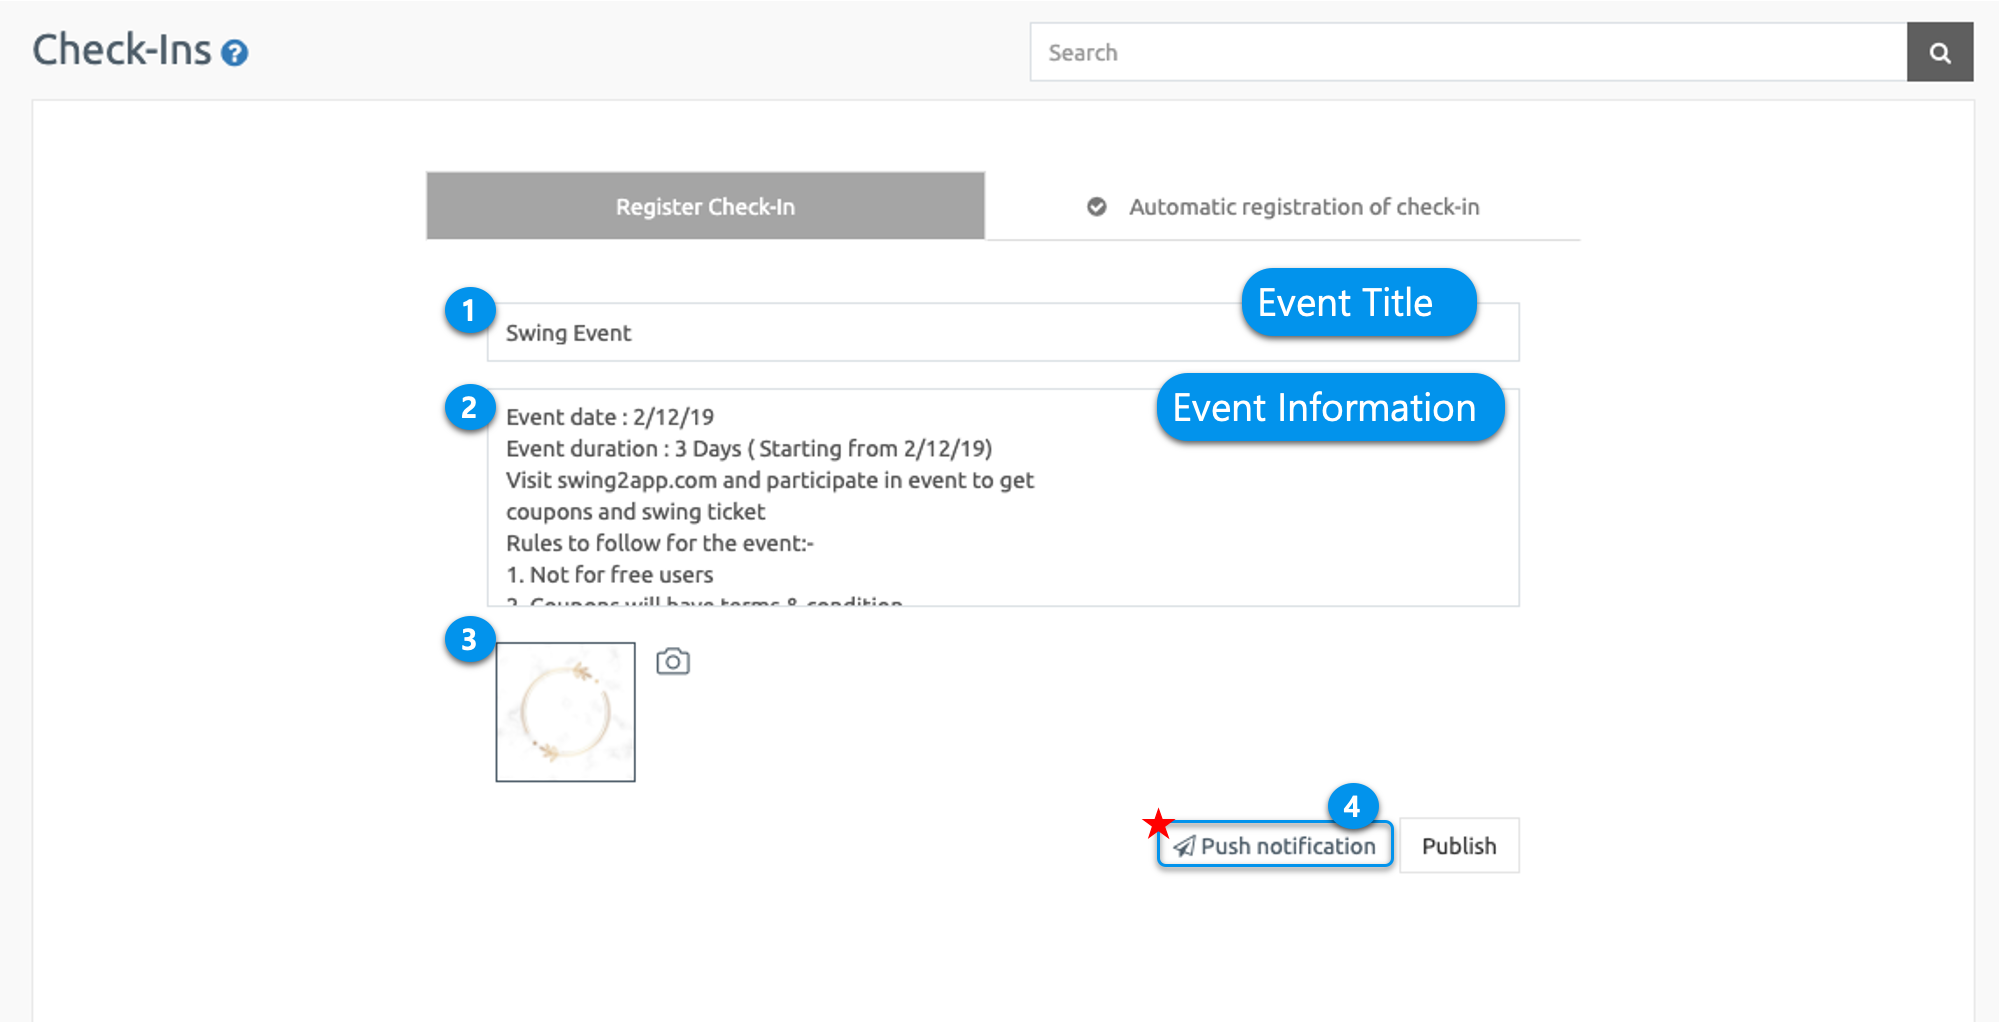
Creating a check-in.
- Enter the Event Title.
- Enter Even information.
- Attach image for the event.
- When details are completed, then click Publish.
*Push Notification:
When you want to notify app members of the check-in event, you can send push notifications by clicking the ‘Push Notification’ button.
2. Check-ins deadline.
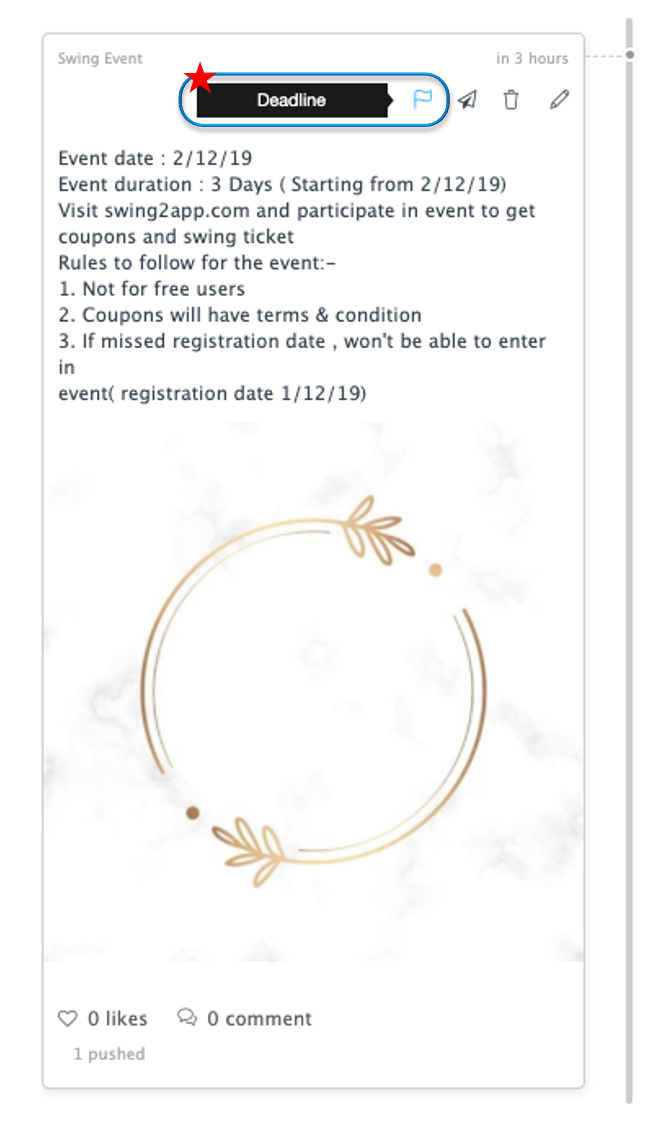
Check-ins event is created when you click on Publish.
At this time, unlike other Bulletin Boards, Check-ins have a Deadline function.
When the event period is completed, you can end the event by closing the check-ins post.
Therefore, after the event, when the event duration is completed and you wish to close it, then click the Deadline icon(Flag). Once you click on it, then a pop-up will open asking ‘Do you want to close it?’, click OK to close the article.
You can also edit or delete it.
STEP.2 Automatic registration of Check-in
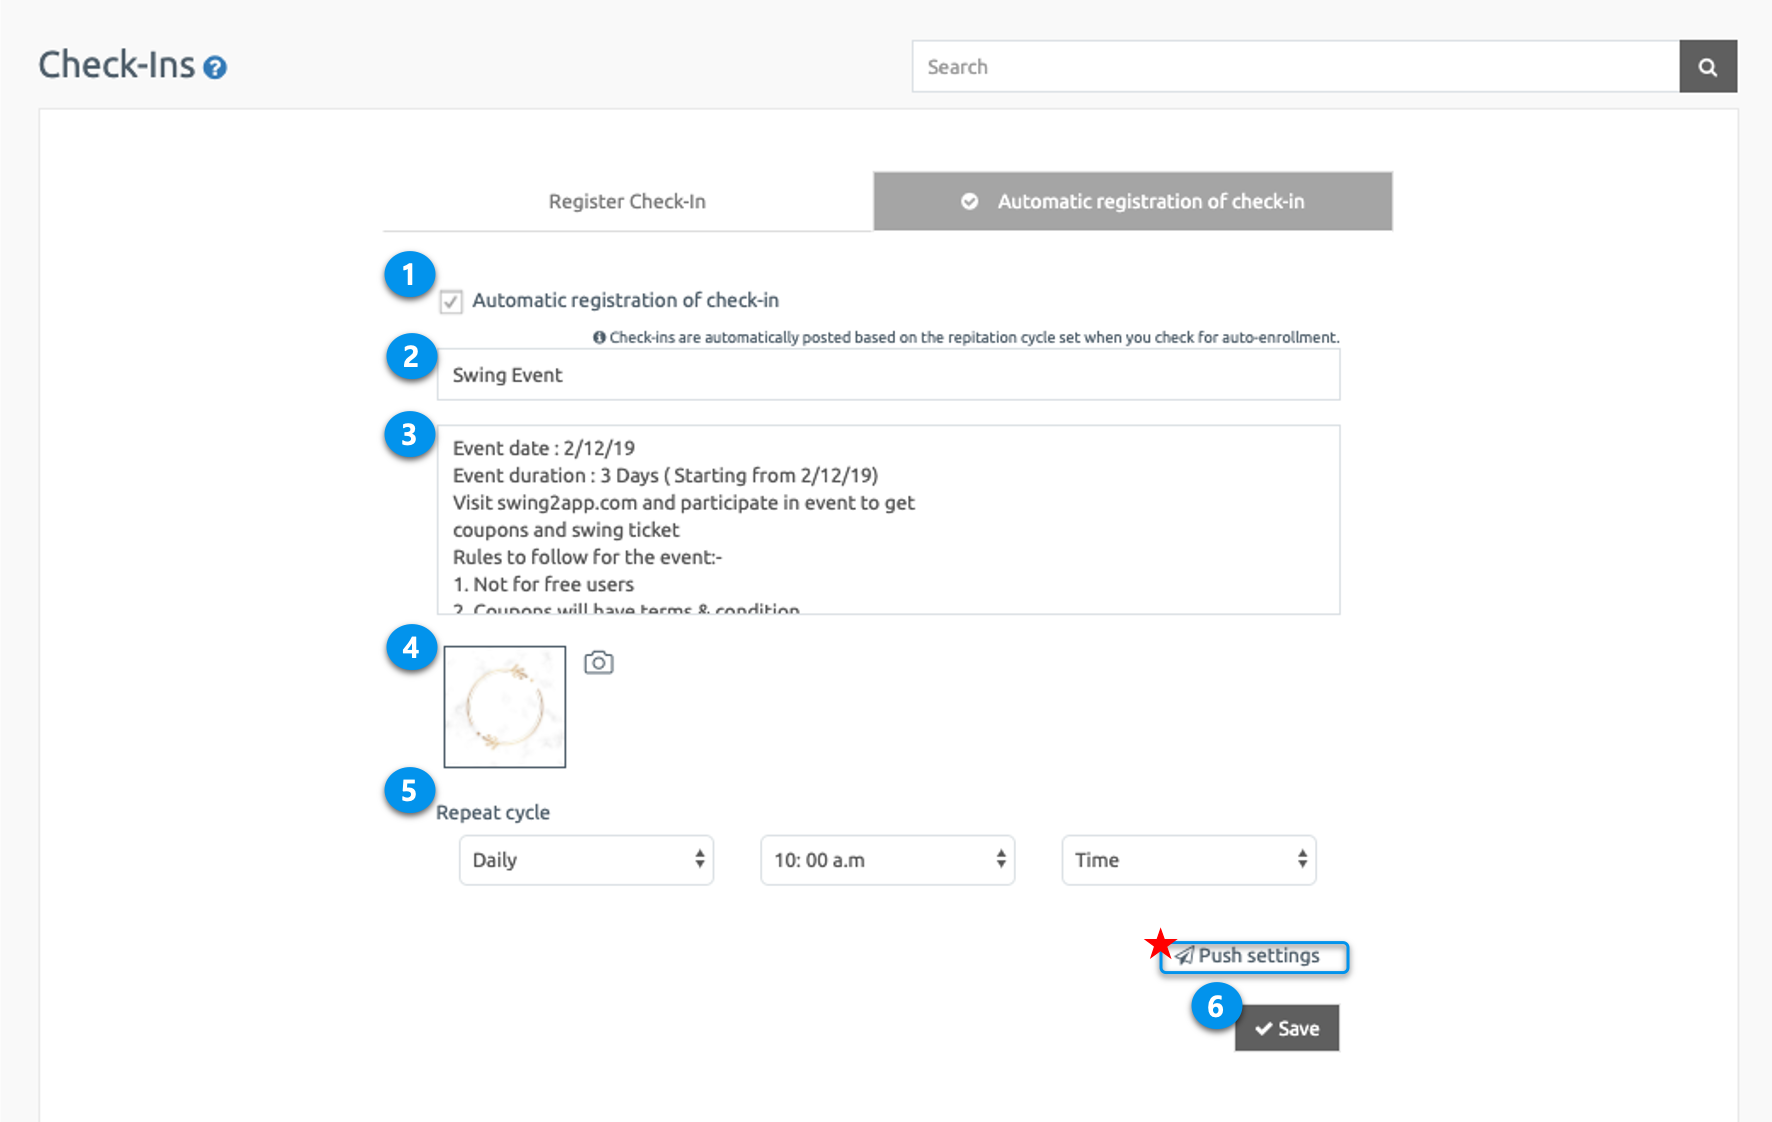
Check-ins can automatically publish the event posts according to the recurring cycle set by the user.
- Select the checkbox of Automatic registration of check-in.
- Enter the Event Title.
- Enter Even information.
- Attach image for the event.
- Set the post repeat cycle under the Repeat cycle.
- When details are completed, then click Save.
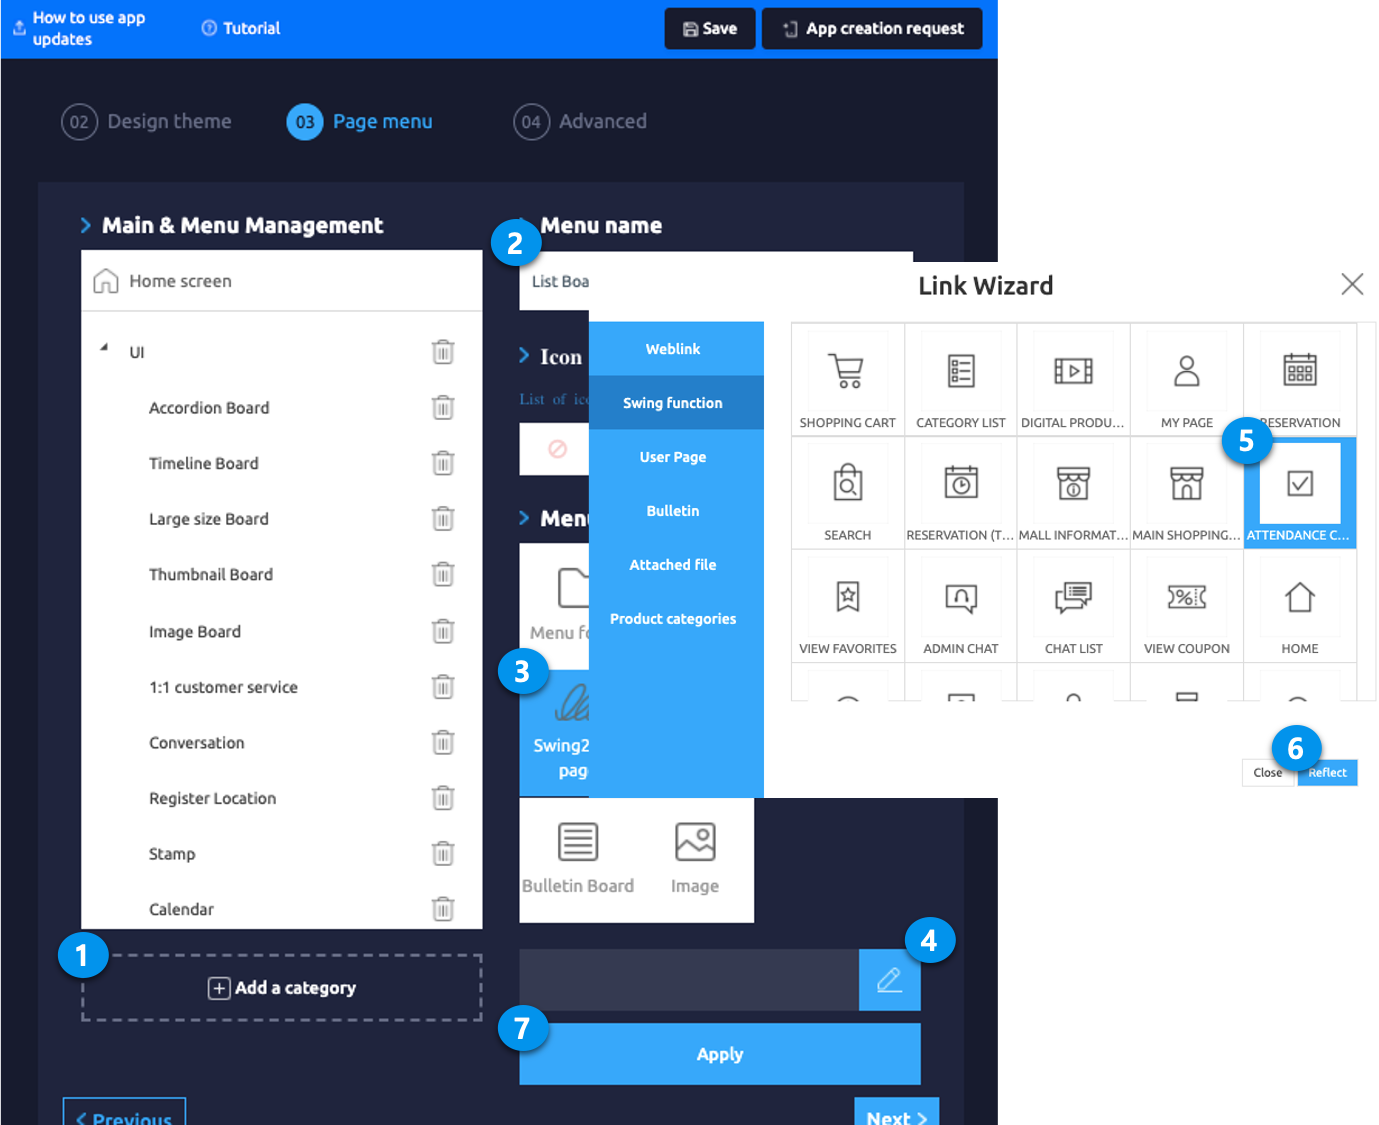
STEP.3 Apply Attendance Checklist Menu to your app
Go to Maker(V2) and click on Page Menu. Follow the steps below:
- Click on Add a Category. A new item with be added to the menu items.
- Change the name of the new item added from in Menu Name option.
- Select Swing2App from Menu Type.
- Click on the Link Wizard icon(pencil icon).
- Select Attendance Checklist from the Swing Function tab.
- Click Reflect.
- Click Apply and click Save at the top of the page.
In this way, you can create an attendance checklist post and apply it to the app.
STEP.4 App Launch screen – Checklist attendance
Let’s run the app and see how attendance checklists are executed in the app!
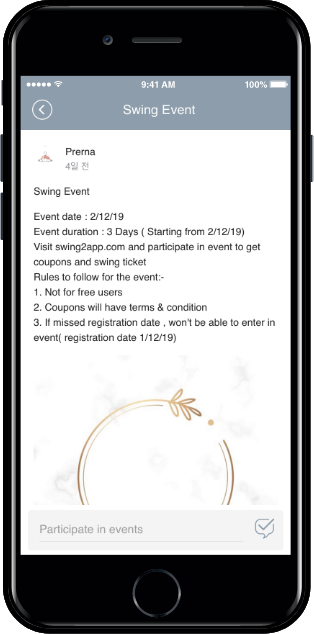
If you open the attendance checklist post, you can check the contents and image of the previously saved post.
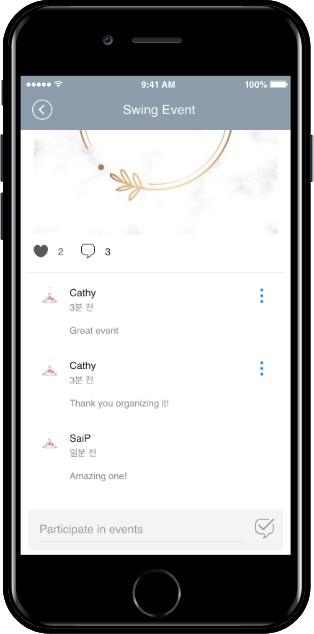
You can join by commenting on [Attendance checklist event participation] at the bottom of the post.
[Attendance checklist event deadline]
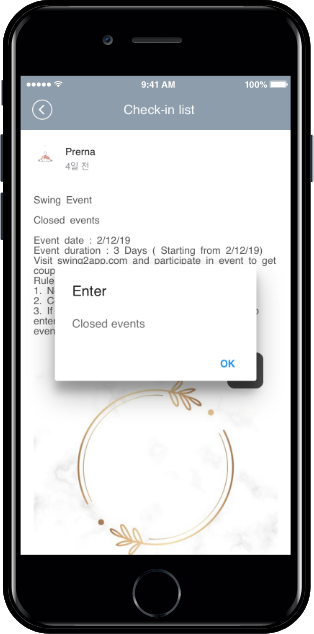
When you close the event, the app will show a window called ‘Event Closed’.